There’s something inherently appealing about the raw, industrial look of concrete paired with the organic softness of plants. Minimalist concrete planters have become a staple in modern home décor, offering a perfect balance of strength and delicacy. The good news? You don’t need to spend a fortune on designer versions – you can easily make your own custom concrete planters at home.
Why Concrete Planters?
Concrete planters bring a distinctly modern edge to your space while being incredibly versatile. They’re durable, weather-resistant, and develop a beautiful patina over time. Plus, the DIY process allows you to customize shapes, sizes, and finishes to match your exact vision.
Aesthetic Pairings: Where Concrete Planters Shine
Concrete planters work beautifully with several design aesthetics:
1. Industrial
The raw, unfinished quality of concrete is a natural fit for industrial spaces with exposed brick, pipes, and metal fixtures. The gray tones complement the utilitarian feel while adding an architectural element.
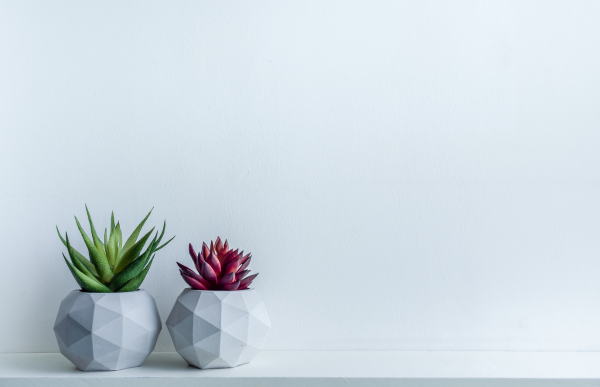
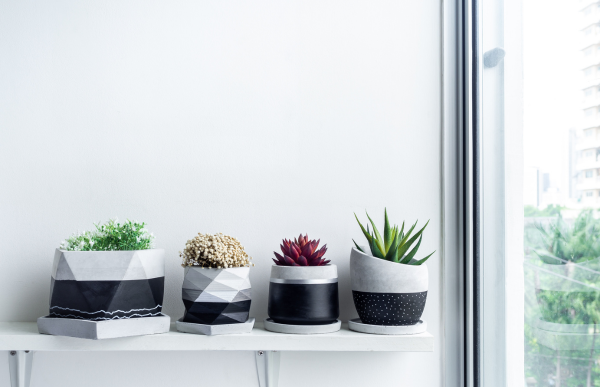
2. Scandinavian Minimalism
The clean lines and monochromatic palette of concrete planters perfectly complement the restrained elegance of Scandinavian design. Pair with light woods, neutral textiles, and plenty of natural light.
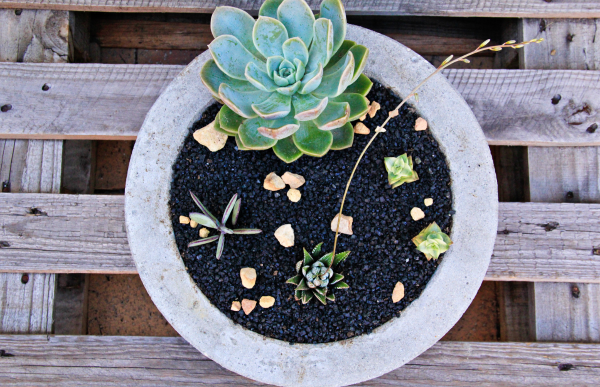
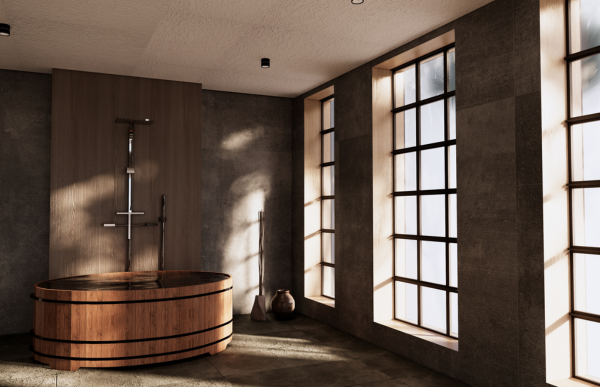
3. Japanese Wabi-Sabi
The imperfections and organic variations in handmade concrete planters align beautifully with wabi-sabi’s celebration of imperfection and transience. The contrast between the hard concrete and soft greenery creates visual harmony.
4. Modern Bohemian
For a less expected pairing, concrete adds structural counterpoints to the layered textiles and patterns of bohemian spaces, grounding the eclectic elements with visual weight.
5. Biophilic Design
In spaces focused on connecting with nature, concrete planters create a compelling juxtaposition between the manufactured and the natural world.
Materials You’ll Need
- Portland cement (not concrete mix)
- Fine play sand
- Perlite or vermiculite (for drainage and to lighten the mix)
- Water
- Concrete colorant (optional)
- Cooking spray or petroleum jelly (as a release agent)
- Plastic containers for molds (various sizes)
- Smaller containers for creating the inner void
Tools Required
- Dust mask
- Leather work gloves
- Disposable Gloves
- Mixing bucket
- Mixing trowel or sturdy spoon
- Measuring cups
- Sandpaper (220-grit and 400-grit)
- Electric drill with mixing attachment (optional but helpful)
- Exacto knife or box cutter
- Plastic sheet or garbage bags to protect surfaces
Step-by-Step Guide
1. Prepare Your Workspace

Start by covering your work area with plastic sheeting and gathering all materials. Concrete can be messy, so choose a well-ventilated area that can handle some dust.
2. Mix Your Concrete
For a basic concrete mix:
- 3 parts Portland cement
- 2 parts fine sand
- 1 part perlite or vermiculite
- Water (add gradually until you reach a thick pancake batter consistency)
Wear your mask, gloves, and safety glasses while mixing. Combine dry ingredients first, then gradually add water while stirring until you reach the desired consistency.
3. Prepare Your Molds
Apply a generous coating of cooking spray or petroleum jelly to both the outer and inner molds. This will make removing the concrete much easier once it’s dry.
For cylindrical planters, place a smaller container inside a larger one, centered with space around all sides. Weigh down the inner container with rocks or sand to prevent it from floating when you pour the concrete.
Here are some affordable molds:
https://www.amazon.com/Silicone-Molds-Concrete-Flower-Square/dp/B0855TNKC9?th=1
4. Pour the Concrete
Carefully pour your concrete mix into the space between the two containers. Tap the sides gently to release air bubbles. Fill to your desired height, leaving room at the top of the outer container.
5. Create Drainage
If making planters, poke a hole in the bottom using a dowel or pencil while the concrete is still wet. Alternatively, you can drill drainage holes after the concrete has cured.
6. Let It Cure
Allow the concrete to set for at least 24-48 hours in a cool, dry place. The longer you let it cure, the stronger it will be.
7. Remove from Molds
Once cured, carefully remove both the outer and inner containers. Start by pulling out the inner container, then flip the outer container and gently tap to release the concrete form.
8. Sand and Finish
Use sandpaper to smooth any rough edges or surfaces. Start with 220-grit and finish with 400-grit for a smoother finish. Wipe away dust with a damp cloth.
9. Seal (Optional)
For indoor use, you may want to seal your planter with concrete sealer to prevent water marks and efflorescence (white powder that can develop on concrete).
10. Optional Decorative Touches
- Dip or paint the bottom portion in colorful waterproof paint
- Add gold leaf accents for a touch of luxury
- Embed colored glass pieces in the wet concrete for mosaic effects
- Sand only portions of the planter for a two-tone effect
Variations to Try
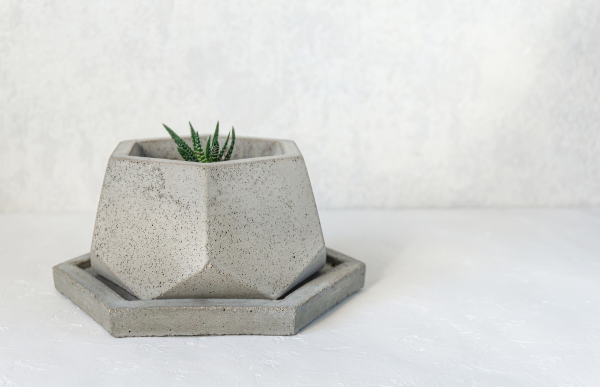
Geometric Forms: Use angled containers or custom-built molds for hexagonal, triangular, or other geometric shapes.
Marbled Concrete: Mix two batches with different pigments and swirl them together for a marbled effect.
Textured Surfaces: Press materials like bubble wrap or textured fabric against the wet concrete for interesting impressions.
Terrazzo Style: Mix in small colored glass pieces, stones, or even broken ceramics for a terrazzo-inspired look.
Styling Your Concrete Planters
The stark minimalism of concrete planters pairs beautifully with:
- Trailing Plants: Pothos , string of pearls , or ivy create a dramatic contrast against the hard concrete.
- Architectural Plants: Succulents, snake plants, and ZZ plants echo the structural quality of the planters.
- Bright Foliage: Plants with colorful leaves pop dramatically against the neutral gray backdrop.
:max_bytes(150000):strip_icc():format(webp)/pothos-an-easy-to-grow-houseplant-1403154-hero-fbcf9818c6ff4c3b9bf2d3eb4d0bfde0.jpg)
Care Tips for Your DIY Concrete Planters
- Allow concrete to fully cure for 28 days before extended exposure to water.
- Use a plastic liner or thoroughly seal the inside if using for water-sensitive plants.
- Elevate outdoor planters in winter to prevent cracking from freeze-thaw cycles.
- Expect and embrace the natural aging process of concrete, which develops character over time.
Final Thoughts
Creating your own concrete planters connects you to both ancient and modern building traditions. While the process is straightforward, each planter becomes uniquely yours through subtle variations in mixing, molding, and finishing. The contrast between industrial concrete and living plants creates a compelling visual story in any space – a perfect example of how opposites attract in great design.
Start with simple forms and, as your confidence grows, experiment with more complex shapes and techniques. Your handcrafted concrete planters won’t just hold plants – they’ll showcase your creativity and add architectural interest to your home.
Leave a Reply